Integrate Altinn app with Maskinporten
How to setup an integration between an Altinn App and Maskinporten.
This is a guide on how to set up an Altinn application to create a client that utilizes a Maskinporten integration for its requests. This is a use case that is relevant when the application are going to perform requests that needs to be authorized on behalf of the organization owning the application and not the end user owning the instance. By nature, these requests will have credentials from the private user who logged in to the application and created the new instance. In order to send these requests on behalf of the organization the following must be done;
- Ensure organization has access to Azure key vault
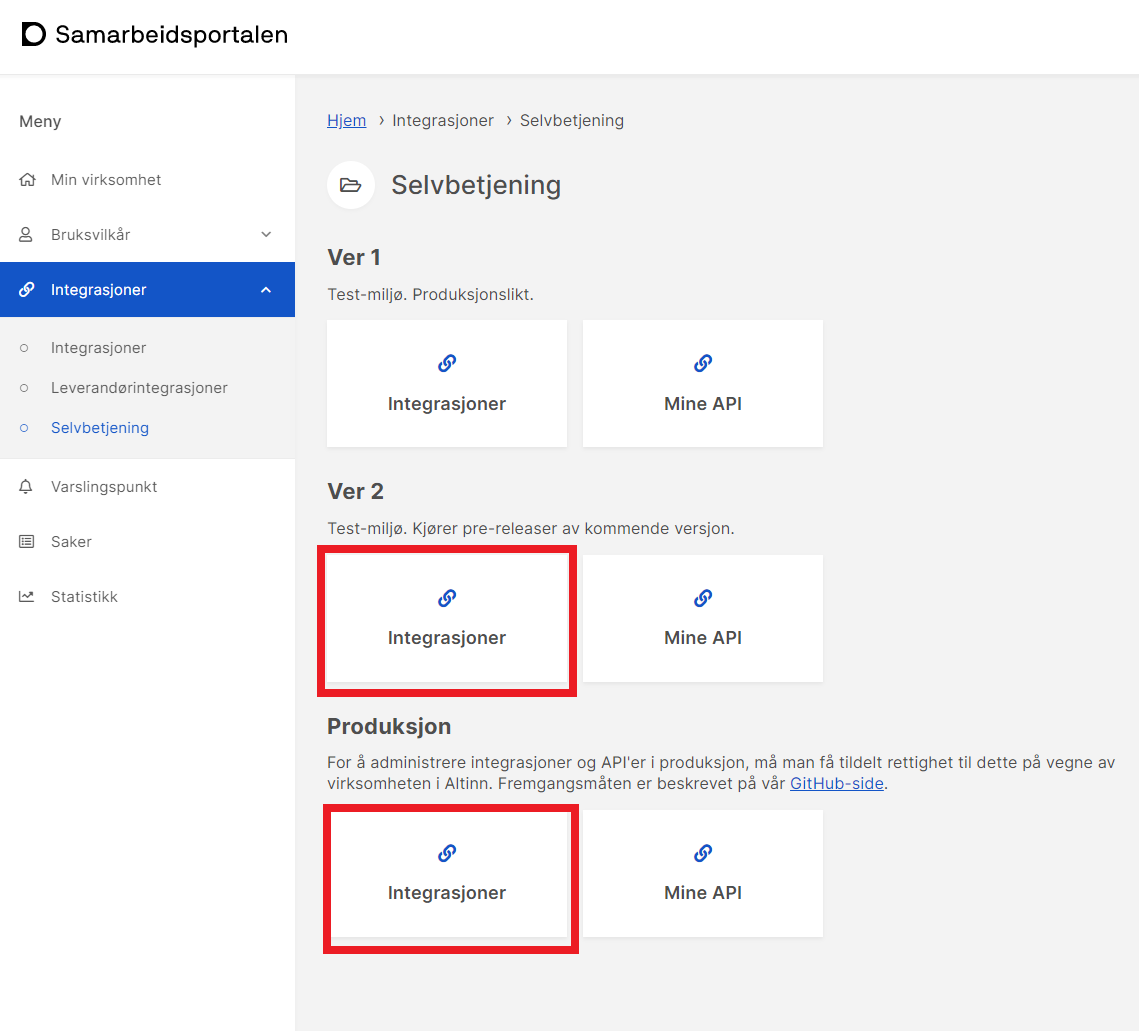
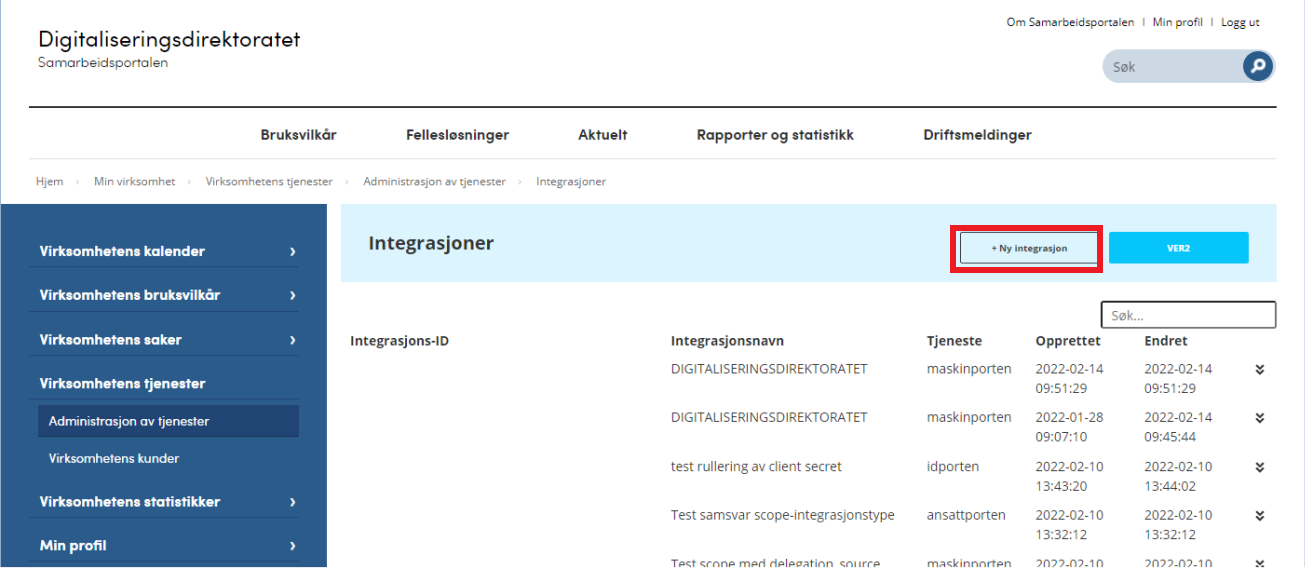
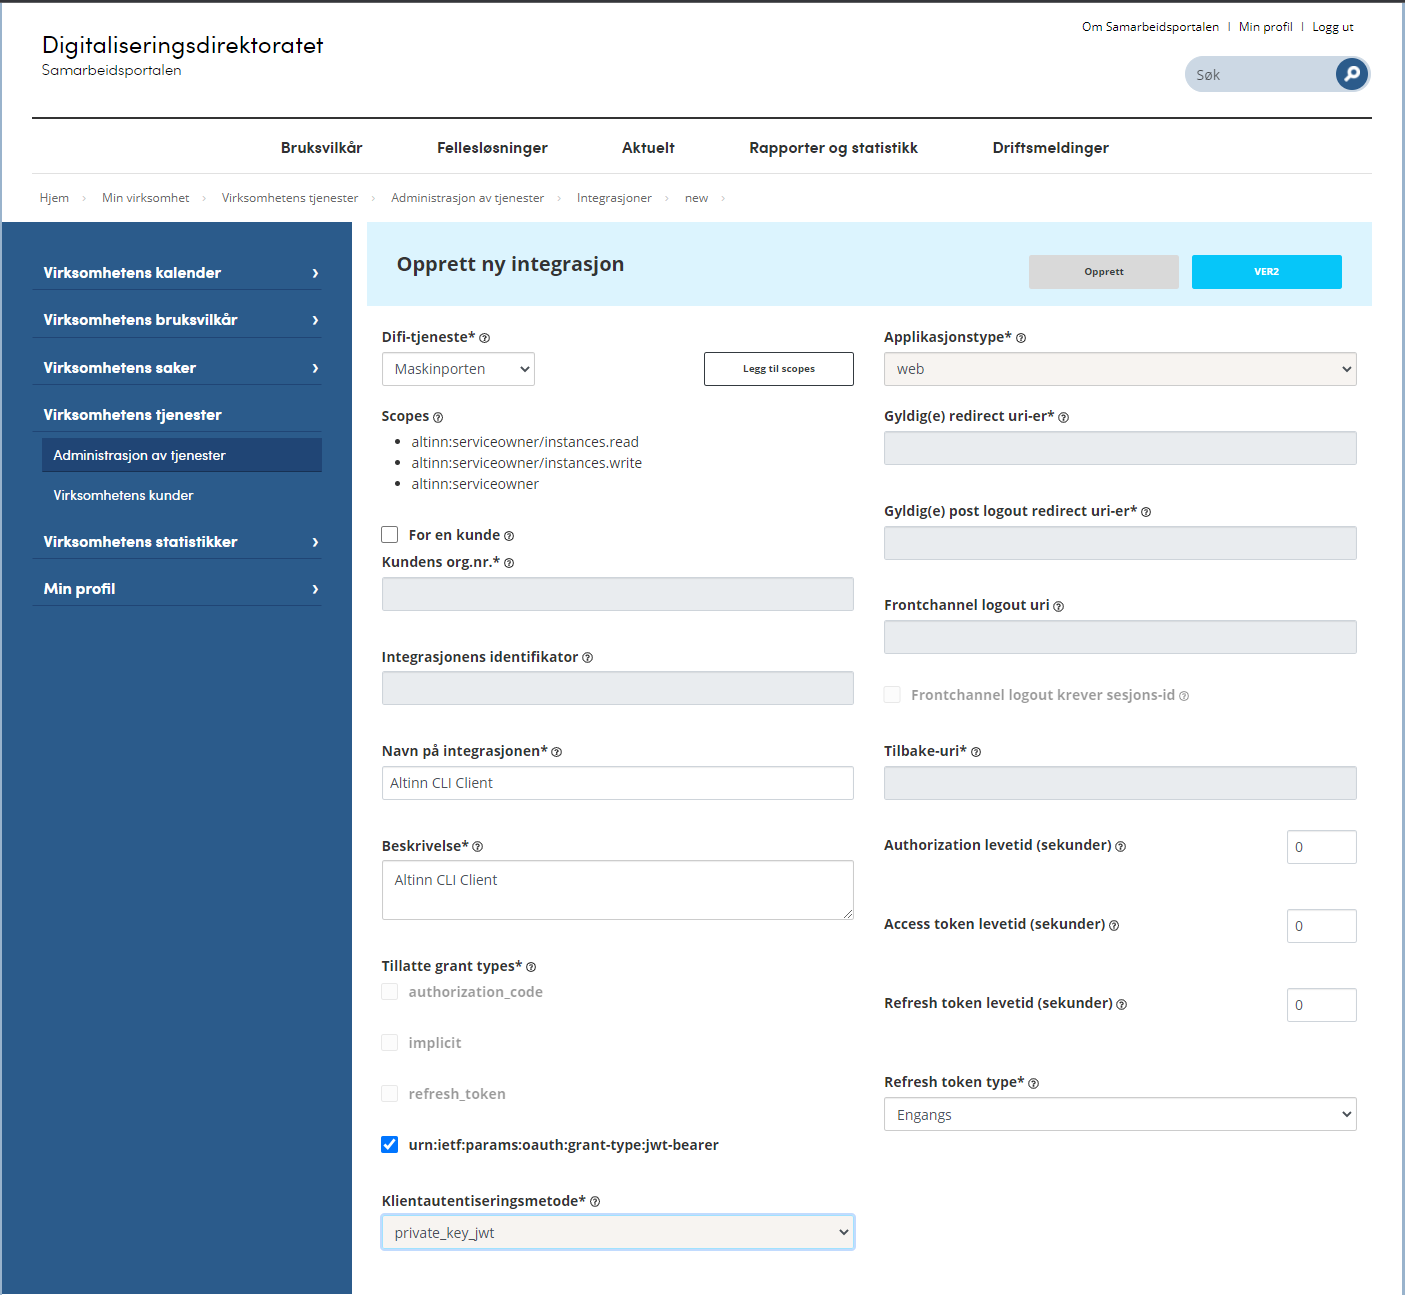
- Create the integration to Maskinporten at Samarbeidsportalen
- Store the keys from the integration in Azure key vault for the organisation
- Set up the application to use the Maskinporten client by retrieving the secrets/keys from Azure key vault.
Azure Key Vault Access
Before going forward in this guide, make sure you have access to Azure key vault for your organization, so the keys created further on in the guide can be added directly into the secrets in Azure.
If access is missing, please refer to Access to logs and secrets.
Maskinporten Integration
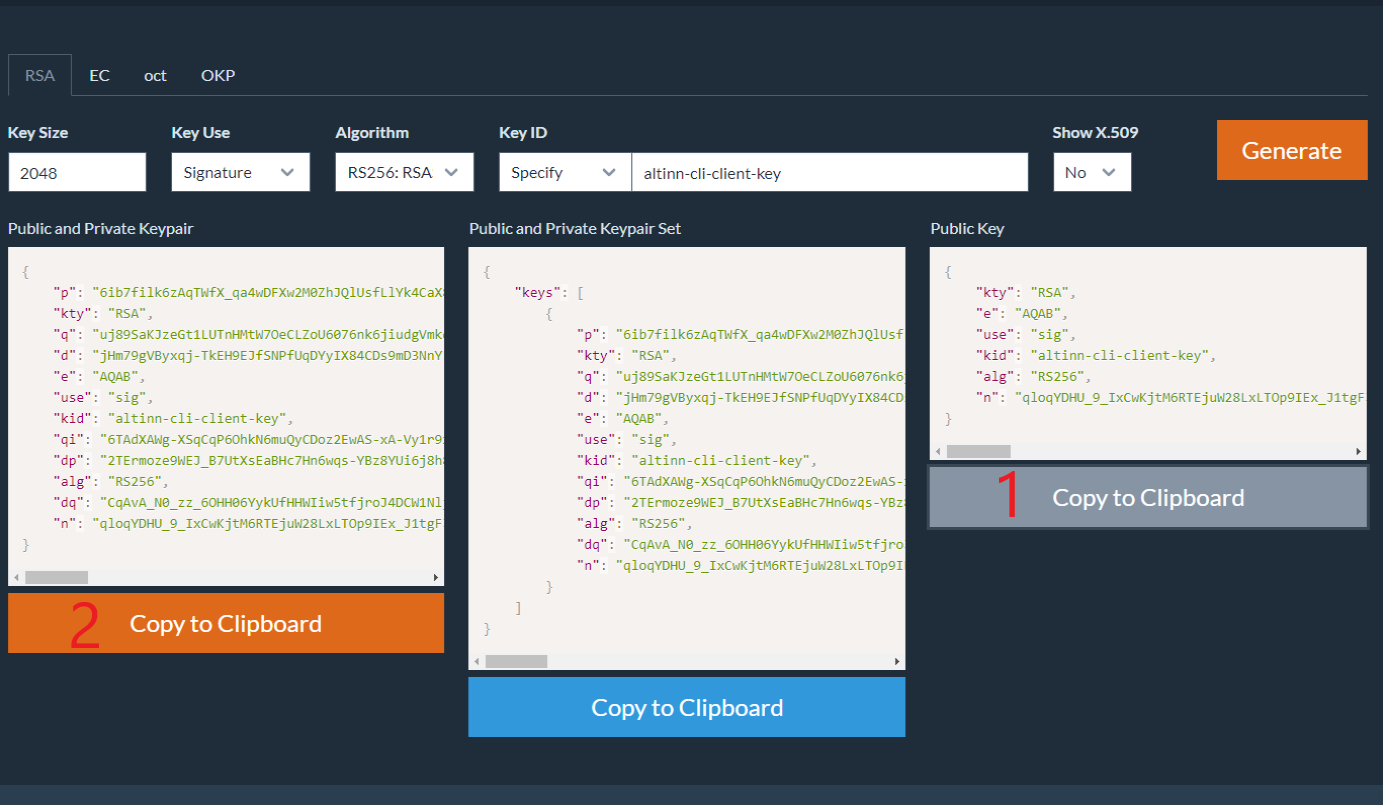
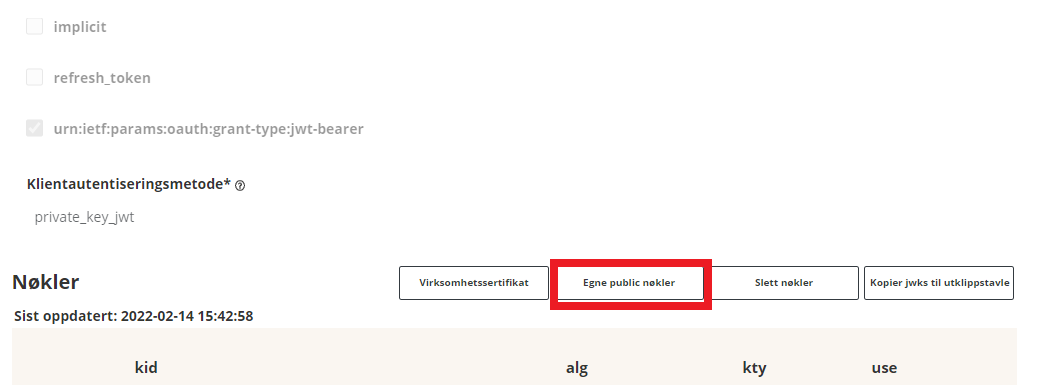
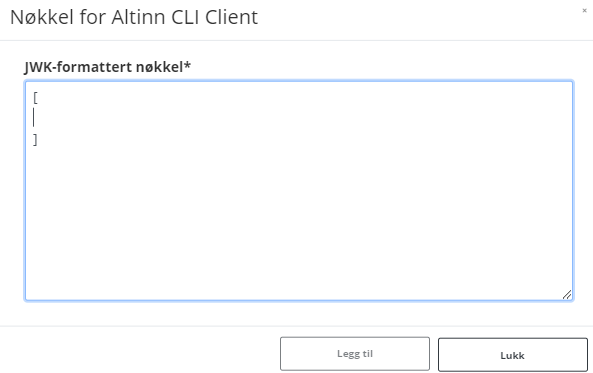
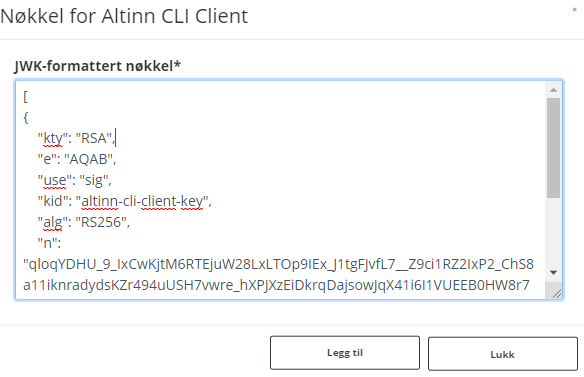
In this section the Maskinporten client will be set up. A part of setting up the client includes creating keys that should be stored in Azure Key vault later on in the guide. If different people in the organization have access to different resources needed in this process, please cooperate and do the following steps on the same machine. This is recommended to avoid sending secrets between machines.
When access to creating secrets in Azure key vault is confirmed, please proceed to create the integration.
Azure Key Vault Configuration
When preparing the application to use the secrets from Azure Key vault, there are some steps that needs to be done:
Add the secrets retrieved during the Maskinporten client configuration to Azure Key vault:
- The base64 encoded JWT public and private key pair
- The clientID for the integration
It is important that the name of these secrets in Azure key vault corresponds with the name of the section in the appsettings file in the application repository. E.g. if your appsettings section for the Maskinporten integration section looks like this:
{
  "MaskinportenSettings": {
    "Environment": "ver2",
    "ClientId": "",
    "Scope": "altinn:serviceowner/instances.read",
    "EncodedJwk": "",
    "ExhangeToAltinnToken": true,
    "EnableDebugLog": true
  }
}
The secrets in Azure key vault should have names like this:
MaskinportenSettings--ClientId
MaskinportenSettings--EncodedJwk
For the application to be able to read the secrets from Azure key vault the application need to be configured to do so. See the secrets section to achieve this.
Add the appsettings section example from above into the
appsettings.{env}.jsonfile.
NB: The secrets are read by the application on start up so if changing the secrets after the application is deployed, you will need to redeploy the application.
Setup Application to use Maskinporten Integration
When modifying the application to use the Maskinporten integration, we need to adapt the program.cs file.
First of all we need to add the MaskinportenHttpClient
service with the appropriate configuration in the function RegisterCustomAppServices:
services.AddMaskinportenHttpClient<SettingsJwkClientDefinition, AppClient>(config.GetSection("MaskinportenSettings"));
Then we need to add the following function ConnectToKeyVault in the bottom of the file:
static void ConnectToKeyVault(IConfigurationBuilder config)
{
    IConfiguration stageOneConfig = config.Build();
    KeyVaultSettings keyVaultSettings = new KeyVaultSettings();
    stageOneConfig.GetSection("kvSetting").Bind(keyVaultSettings);
    if (!string.IsNullOrEmpty(keyVaultSettings.ClientId) &&
        !string.IsNullOrEmpty(keyVaultSettings.TenantId) &&
        !string.IsNullOrEmpty(keyVaultSettings.ClientSecret) &&
        !string.IsNullOrEmpty(keyVaultSettings.SecretUri))
    {
        string connectionString = $"RunAs=App;AppId={keyVaultSettings.ClientId};" +
                                  $"TenantId={keyVaultSettings.TenantId};" +
                                  $"AppKey={keyVaultSettings.ClientSecret}";
        AzureServiceTokenProvider azureServiceTokenProvider = new AzureServiceTokenProvider(connectionString);
        KeyVaultClient keyVaultClient = new KeyVaultClient(
            new KeyVaultClient.AuthenticationCallback(
                azureServiceTokenProvider.KeyVaultTokenCallback));
        config.AddAzureKeyVault(
            keyVaultSettings.SecretUri, keyVaultClient, new DefaultKeyVaultSecretManager());
    }
}
Finally, this function must then be called in the
function ConfigureWebHostBuilder. The function already
exist, so just change the content to the following:
void ConfigureWebHostBuilder(IWebHostBuilder builder)
{
    builder.ConfigureAppConfiguration((_, configBuilder) =>
    {
        configBuilder.LoadAppConfig(args);
        ConnectToKeyVault(configBuilder);
    });
}


