
Queues
Guidelines for working with Azure Queue Storage
Moving messages between queues
During operations we sometimes need to move messages between queues. The most common scenario is wanting to re-process elements that have ended in the poison queue after too many failed attempts.
Prerequisites
- Azure Storage Explorer
- An Azure AD account with write-permissions for the related storage account
How to
- Open Storage Explorer.
If you are working towards a test or production environment you must
- Sign into Azure under the Account Management tab
- select the storage account you want to work with
- Move to the Explorer tab and identify the source queue in the left hand menu
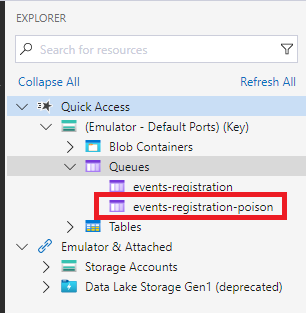
- You should now see the messages in the queue in the explorer.
If you only want to move a single message, this should be highlighted
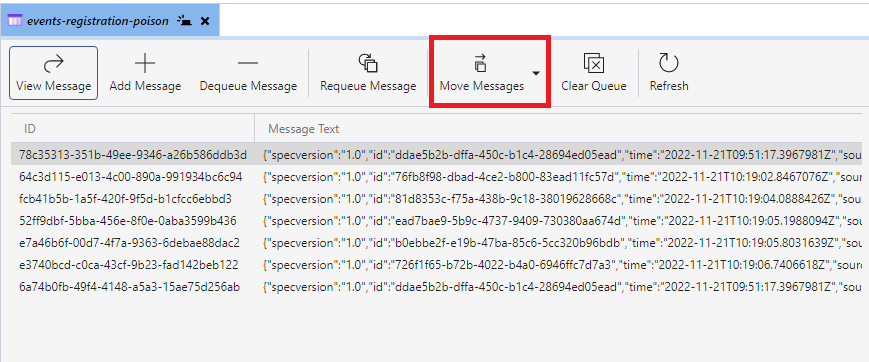
- Click the arrow next to Move messages to specify if all or just a single message should be moved
- In the dialogue, select the destination queue and click
Move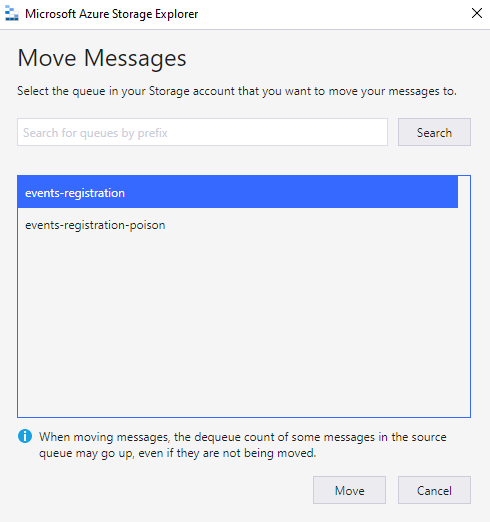
- The messages will be moved immediatly. Check the destination queue to confirm.
Manually adding messages in queue
Manually adding a message to a queue is useful both when testing new functionality and during incident management.
You have two options when manually adding a message to a Storage Queue, the Azure Portal or Azure Storage Explorer.
Prerequisites
- Azure Storage Explorer or a browser
- An Azure AD account with write-permissions for the related storage account
How to (Azure Portal)
- Log onto the Azure Portal and identify the correct Storage Account
- Select
Queuesin the left hand menu and identify the queue to work with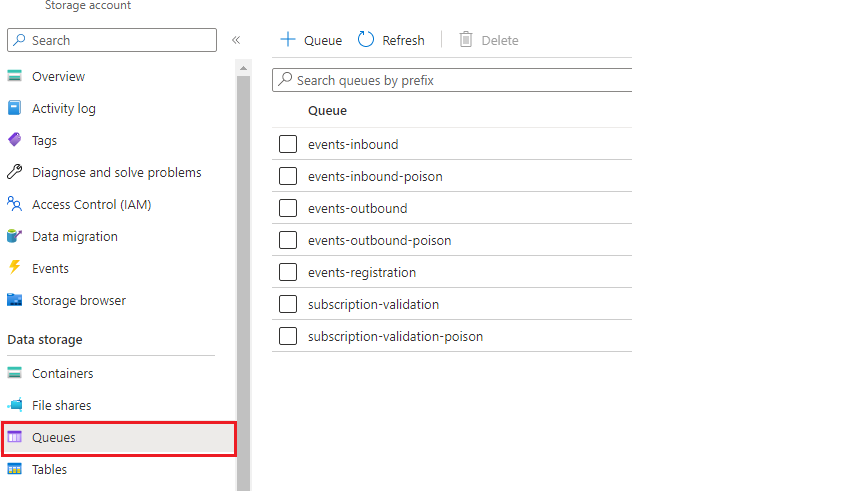
- Click the queue you want to work with
- In the overview page of the queue click
Add message
- Paste your message into the dialogue box, in our case it’s often a json document
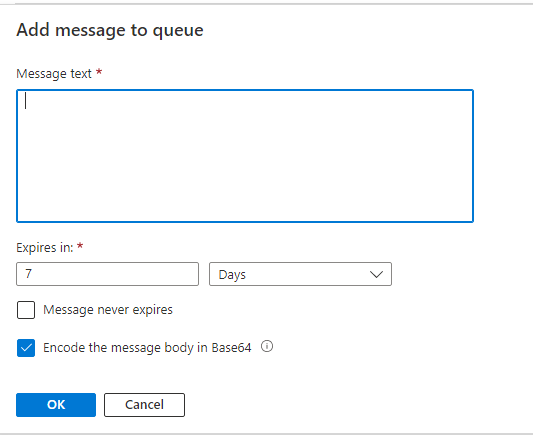
- Ensure that
Encode the message body in Base64is checked - Click OK
How to (Storage Explorer)
- Open Storage Explorer.
If you are working towards a test or production environment you must
- Sign into Azure under the Account Management tab
- select the storage account you want to work with
- Move to the Explorer tab and identify the queue you want to work with in the left hand menu

- Once selected, click
Add messagein the top ribbon - Add the message in the dialogue box, in our case it’s often a json document

- Ensure encoding is set to
Base64and click ok