

Local Development
Getting started with local development
During application development, you will need to work both in Altinn Studio and in a local development environment. Here’s an overview of how to get started with local development.
How to clone the application to a local development environment
studioctl is the recommended command-line tool for local development of Altinn Studio apps.
It logs in to Altinn Studio, clones the app repository and configures Git authentication for you.
studioctl is currently released as v0.1.0-preview. Breaking changes may still occur, although no breaking changes are planned at the moment.Supported platforms
studioctl can be used on Windows, Linux and macOS.
To run the local test platform, you need a container runtime.
Use Docker, Podman or Colima.
Install studioctl:
curl -sSL https://altinn.studio/designer/api/v1/studioctl/install.sh | sh
On Windows, install from PowerShell:
iwr https://altinn.studio/designer/api/v1/studioctl/install.ps1 -useb | iex
Log in and clone the app:
studioctl auth login
studioctl app clone <org>/<app-name>
cd <app-name>
For automation and CI, pass an existing Studio/Designer API key through standard input from an environment variable:
printf '%s' "$STUDIO_DESIGNER_API_KEY" | studioctl auth login --with-token
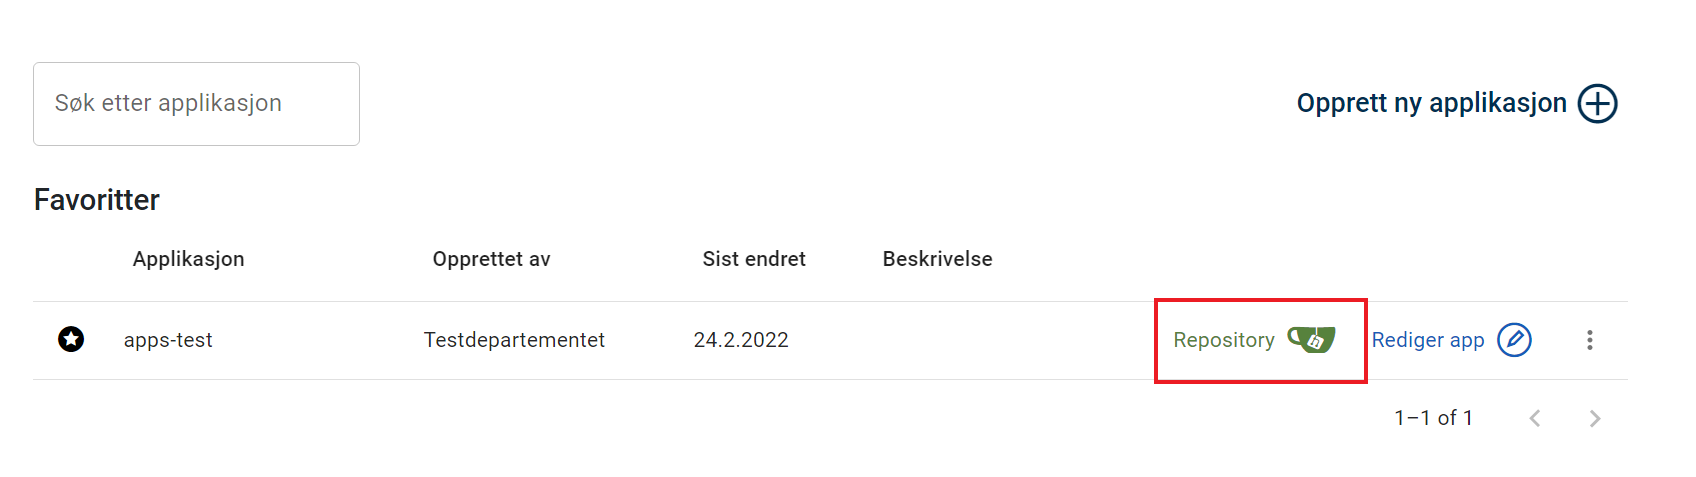
- Find the application you want to work with locally in the Dashboard in Altinn Studio.
- Navigate to the repository by clicking the Repository button.
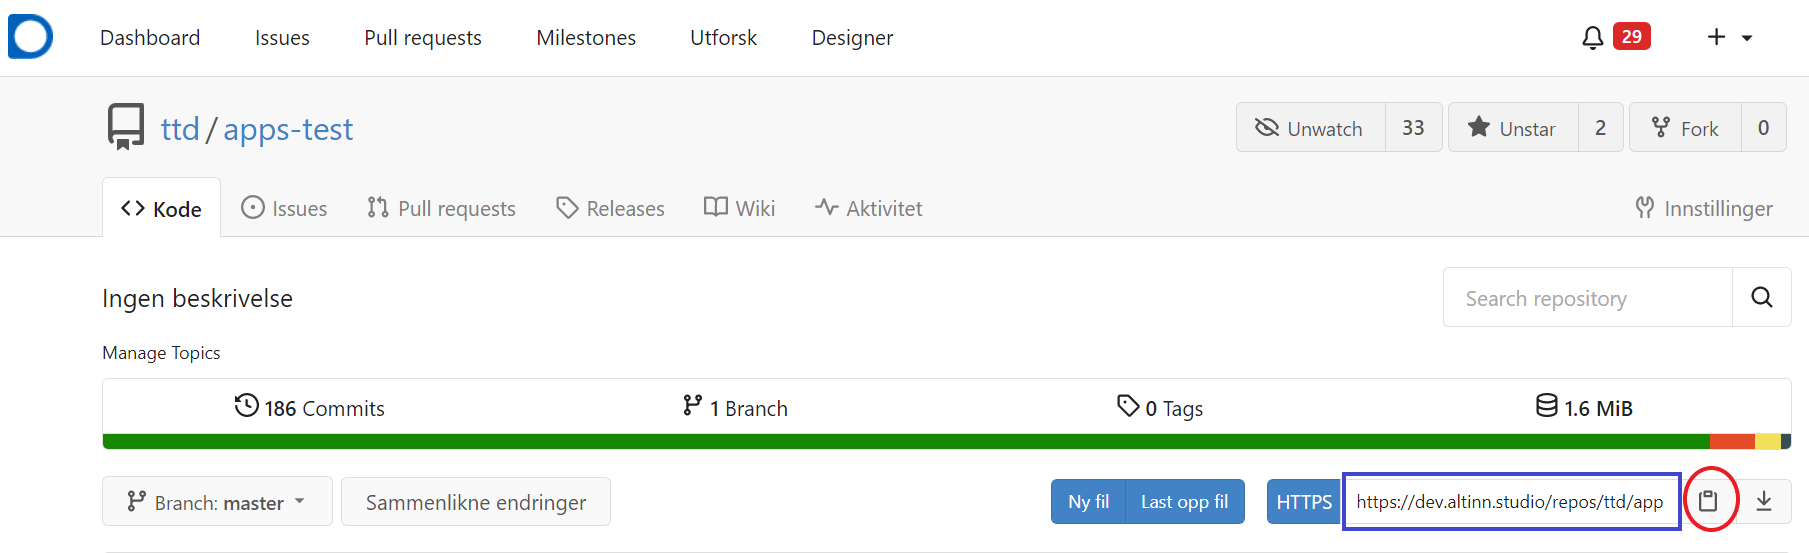
- Copy the repository link (the blue square) either manually or by clicking the button marked with a red circle.
- Open a terminal in your local development environment.
- Navigate to the desired location for the application repository.
- Enter the command
git cloneand paste the URL you copied in the previous step.
$ git clone https://altinn.studio/repos/<org>/<app-name>.git- If you have logged into Altinn Studio without creating a password (e.g. using Github login), you can create a personal access token in Gitea that can be used as a password when cloning:
$ git clone https://<username>:<access-token>@altinn.studio/repos/<org>/<app-name>.git- You should see an output in the terminal similar to this:
Cloning into 'app-name'...
remote: Enumerating objects: 982, done.
remote: Counting objects: 100% (982/982), done.
remote: Compressing objects: 100% (950/950), done.
remote: Total 982 (delta 600), reused 0 (delta 0), pack-reused 0
Receiving objects: 100% (982/982), 166.38 KiB | 1.51 MiB/s, done.
Resolving deltas: 100% (600/600), done.
A folder with the same name as the application has been created, and the contents of the application repository have been cloned into the folder. Now you can open your preferred development tool and start coding.
How to synchronize changes in the local development environment
Changes made locally need to be uploaded (pushed) to the repository from which the code was cloned. If changes are made in Altinn Studio Designer (and uploaded to the repository), these must be downloaded (pulled) to update the local code.
Synchronizing changes made in the local development environment can be done in several ways. Many development tools have good integrations for this purpose, so check if your tool has that type of support.
Below is a description of how you can synchronize changes from the command line.
Uploading changes
- Navigate to your application repository in a terminal.
- Add the files you want to upload changes for (push) with the command
git add <file path>. The command can be executed for individual files, multiple files at once (space separated), or a directory. - Save (commit) the changes with a meaningful message using the command
git commit -m <commit message>. - Upload (push) the changes to the master branch with the command
git push.
Downloading changes
Navigate to your application repository in a terminal and run the command git pull.
How to synchronize changes in Altinn Studio
If you’re using Altinn Studio for development, changes need to be synchronized with the Altinn Repository.
Downloading changes
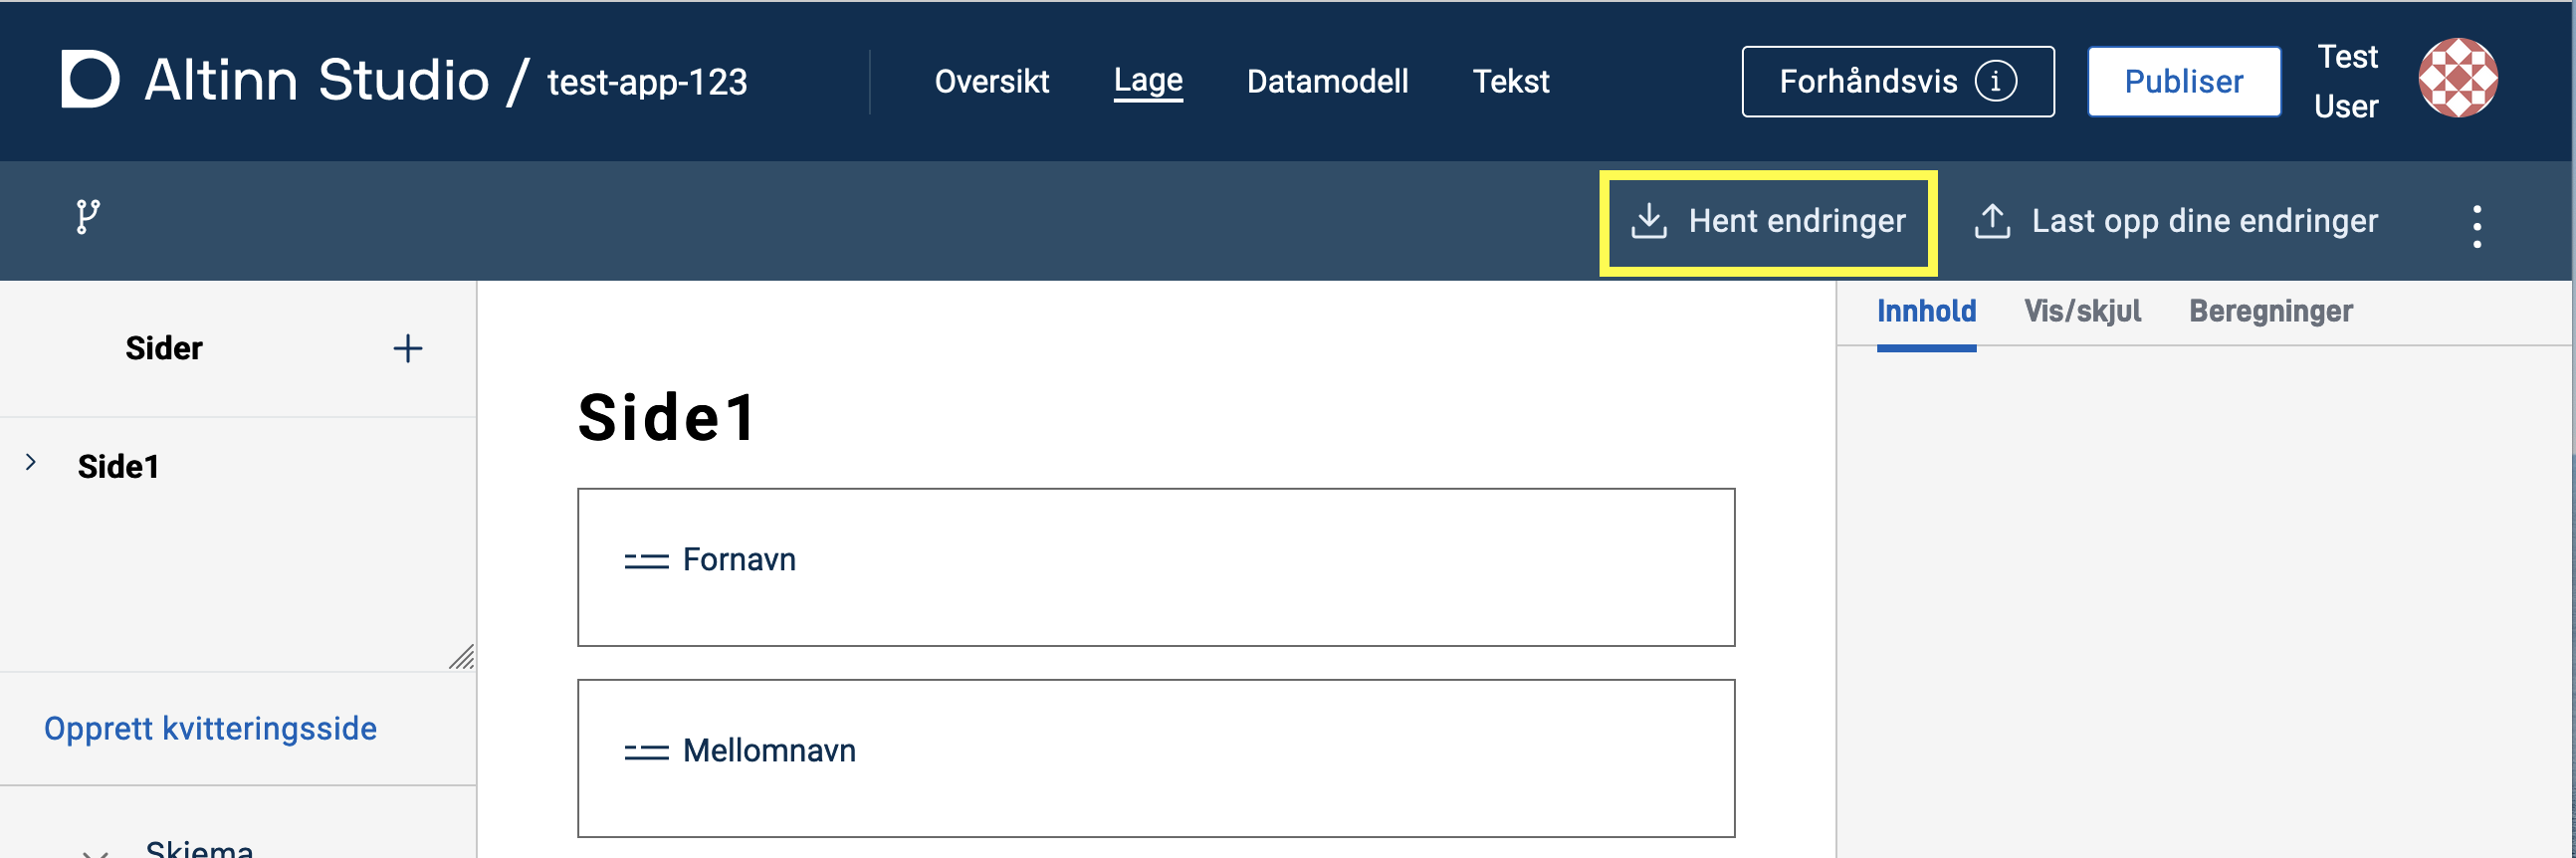
- Click on Hent endringer (Fetch changes) on the ‘Lage’ page of the application in Altinn Studio.
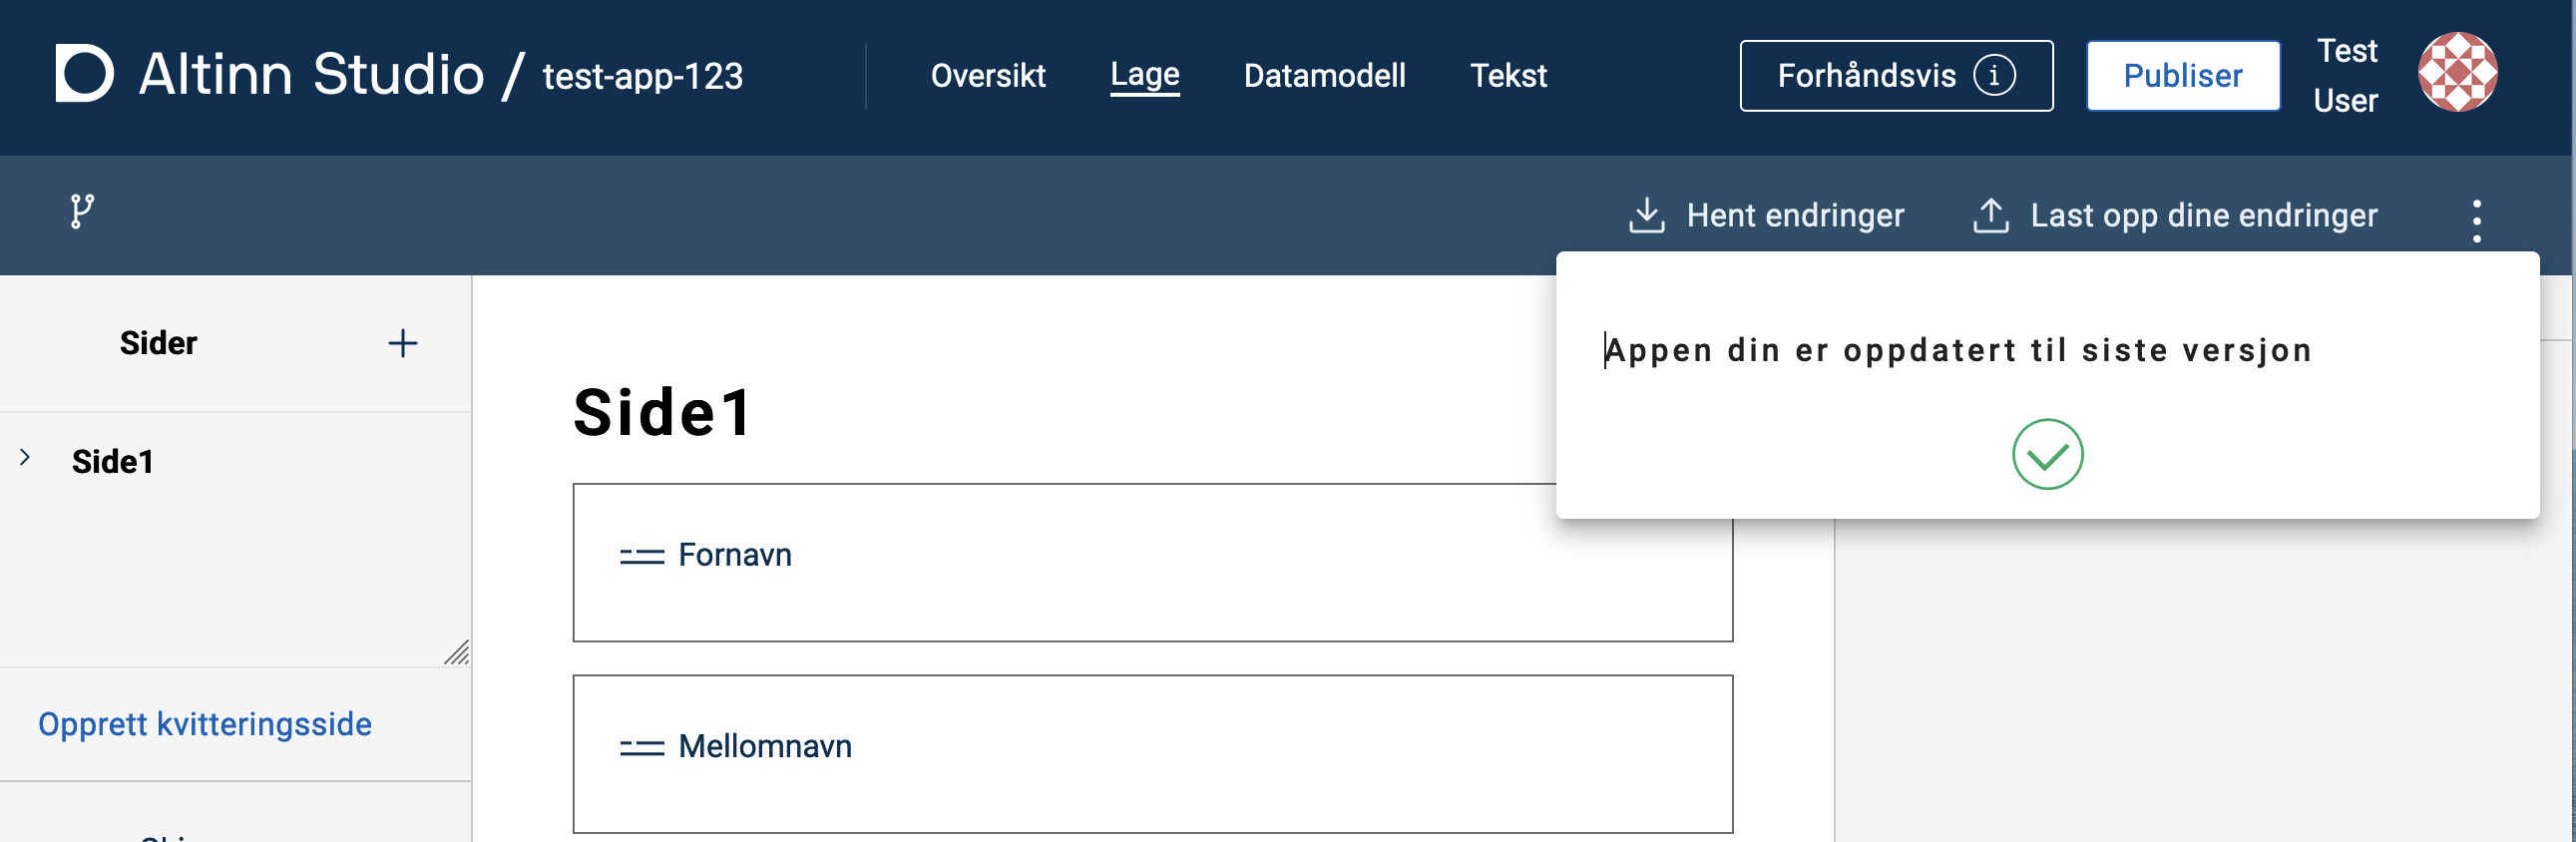
- If everything went well, you will see this confirmation.
Uploading changes
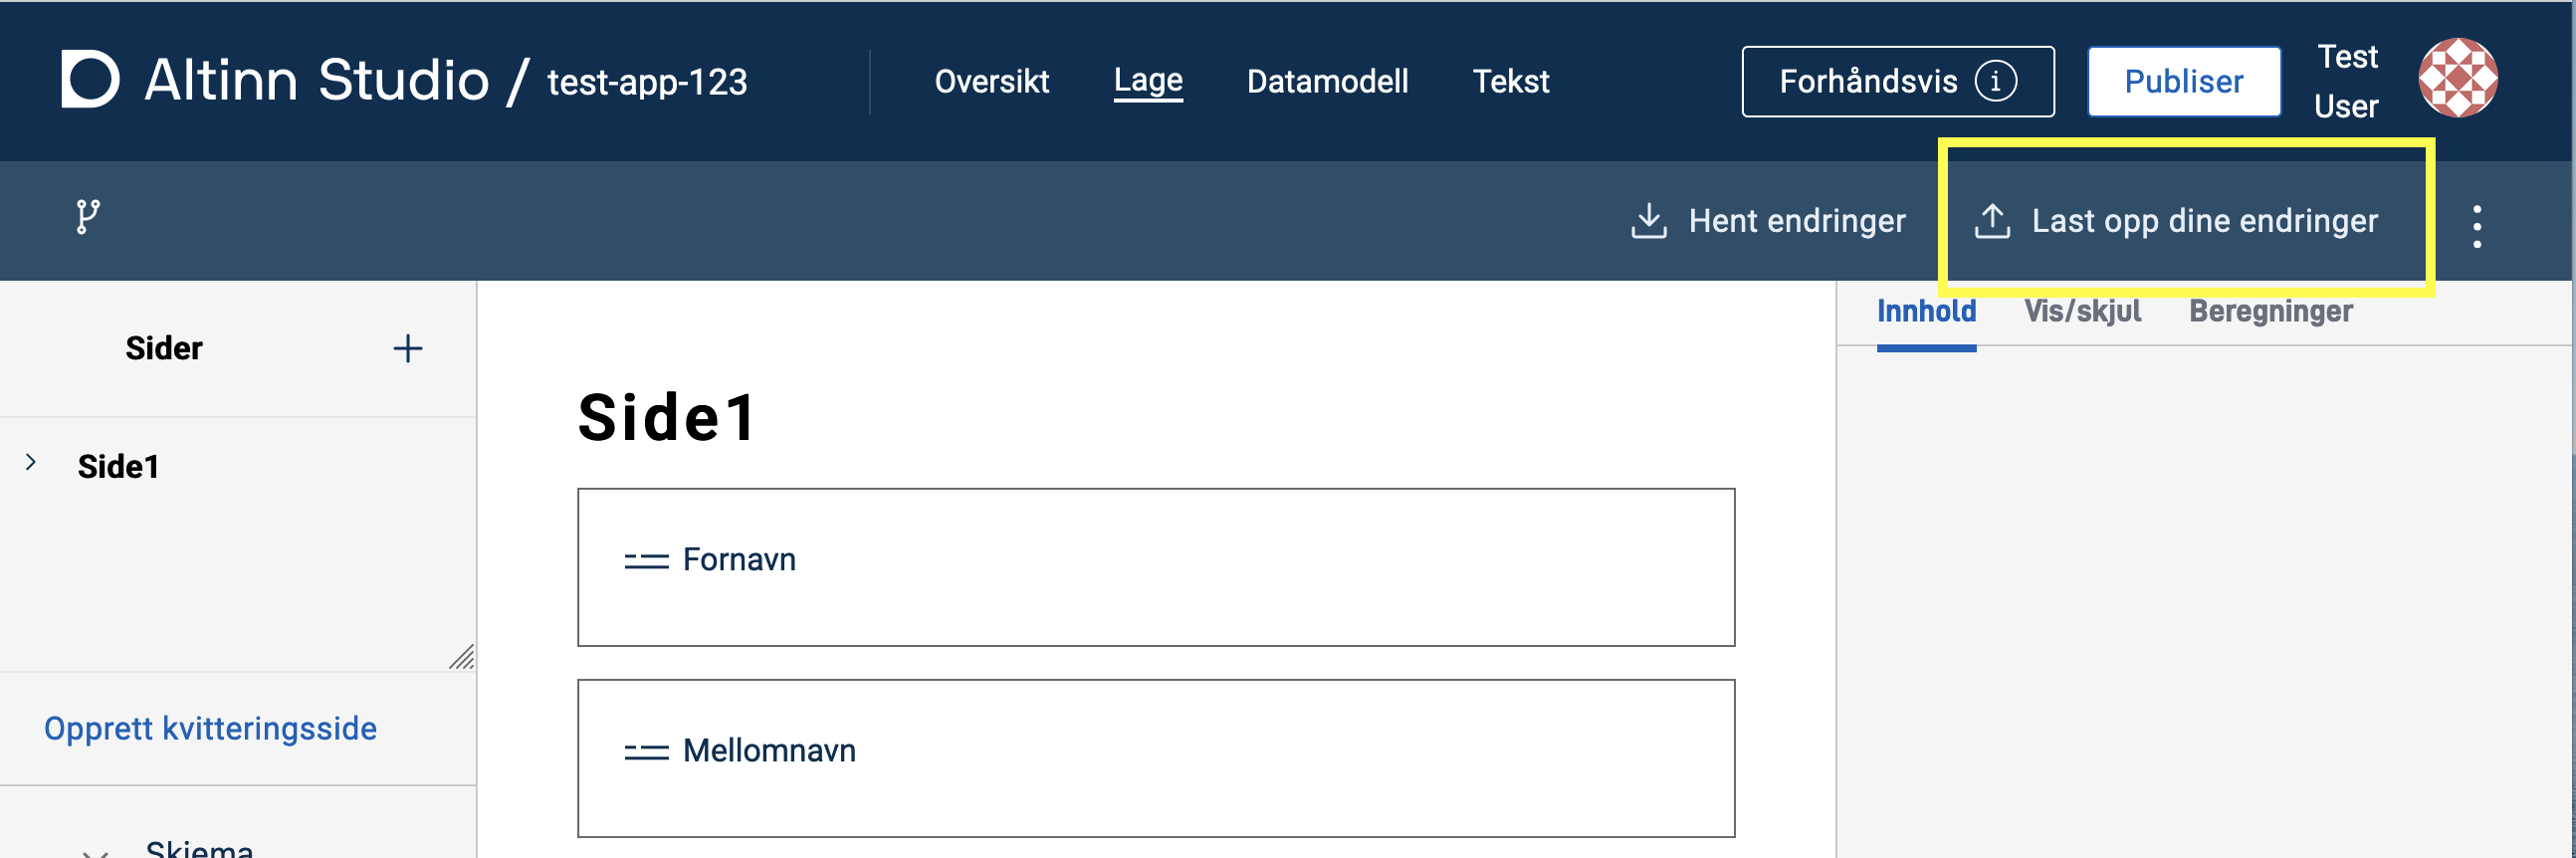
- Click on Last opp dine endringer (Upload your changes) on the ‘Lage’ page of the application in Altinn Studio.
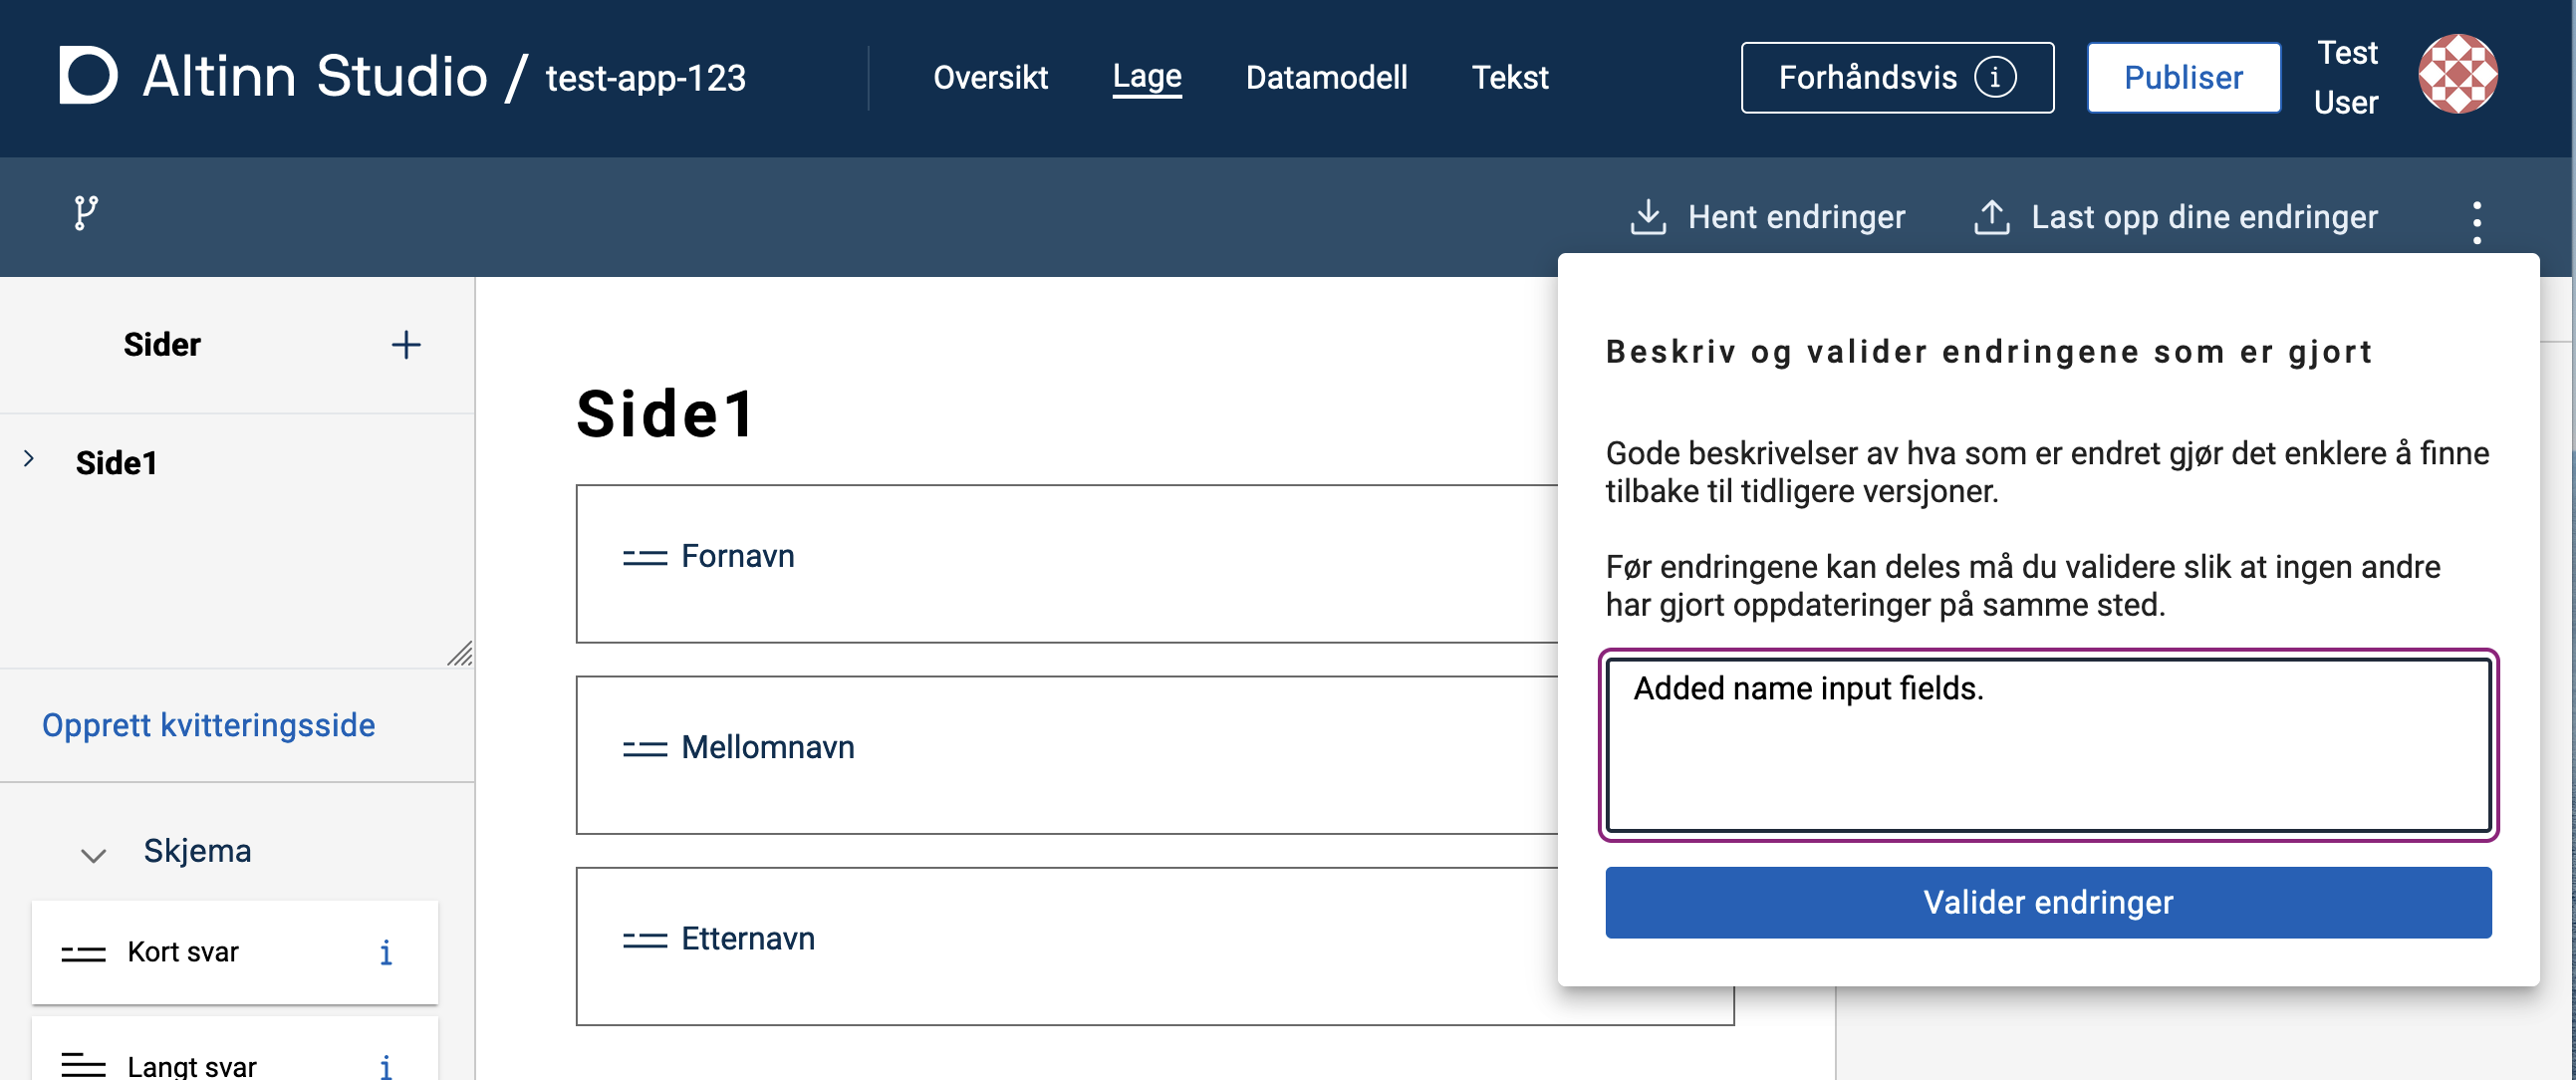
- Enter a descriptive message for the change(s) and click Valider endringer (Validate changes).
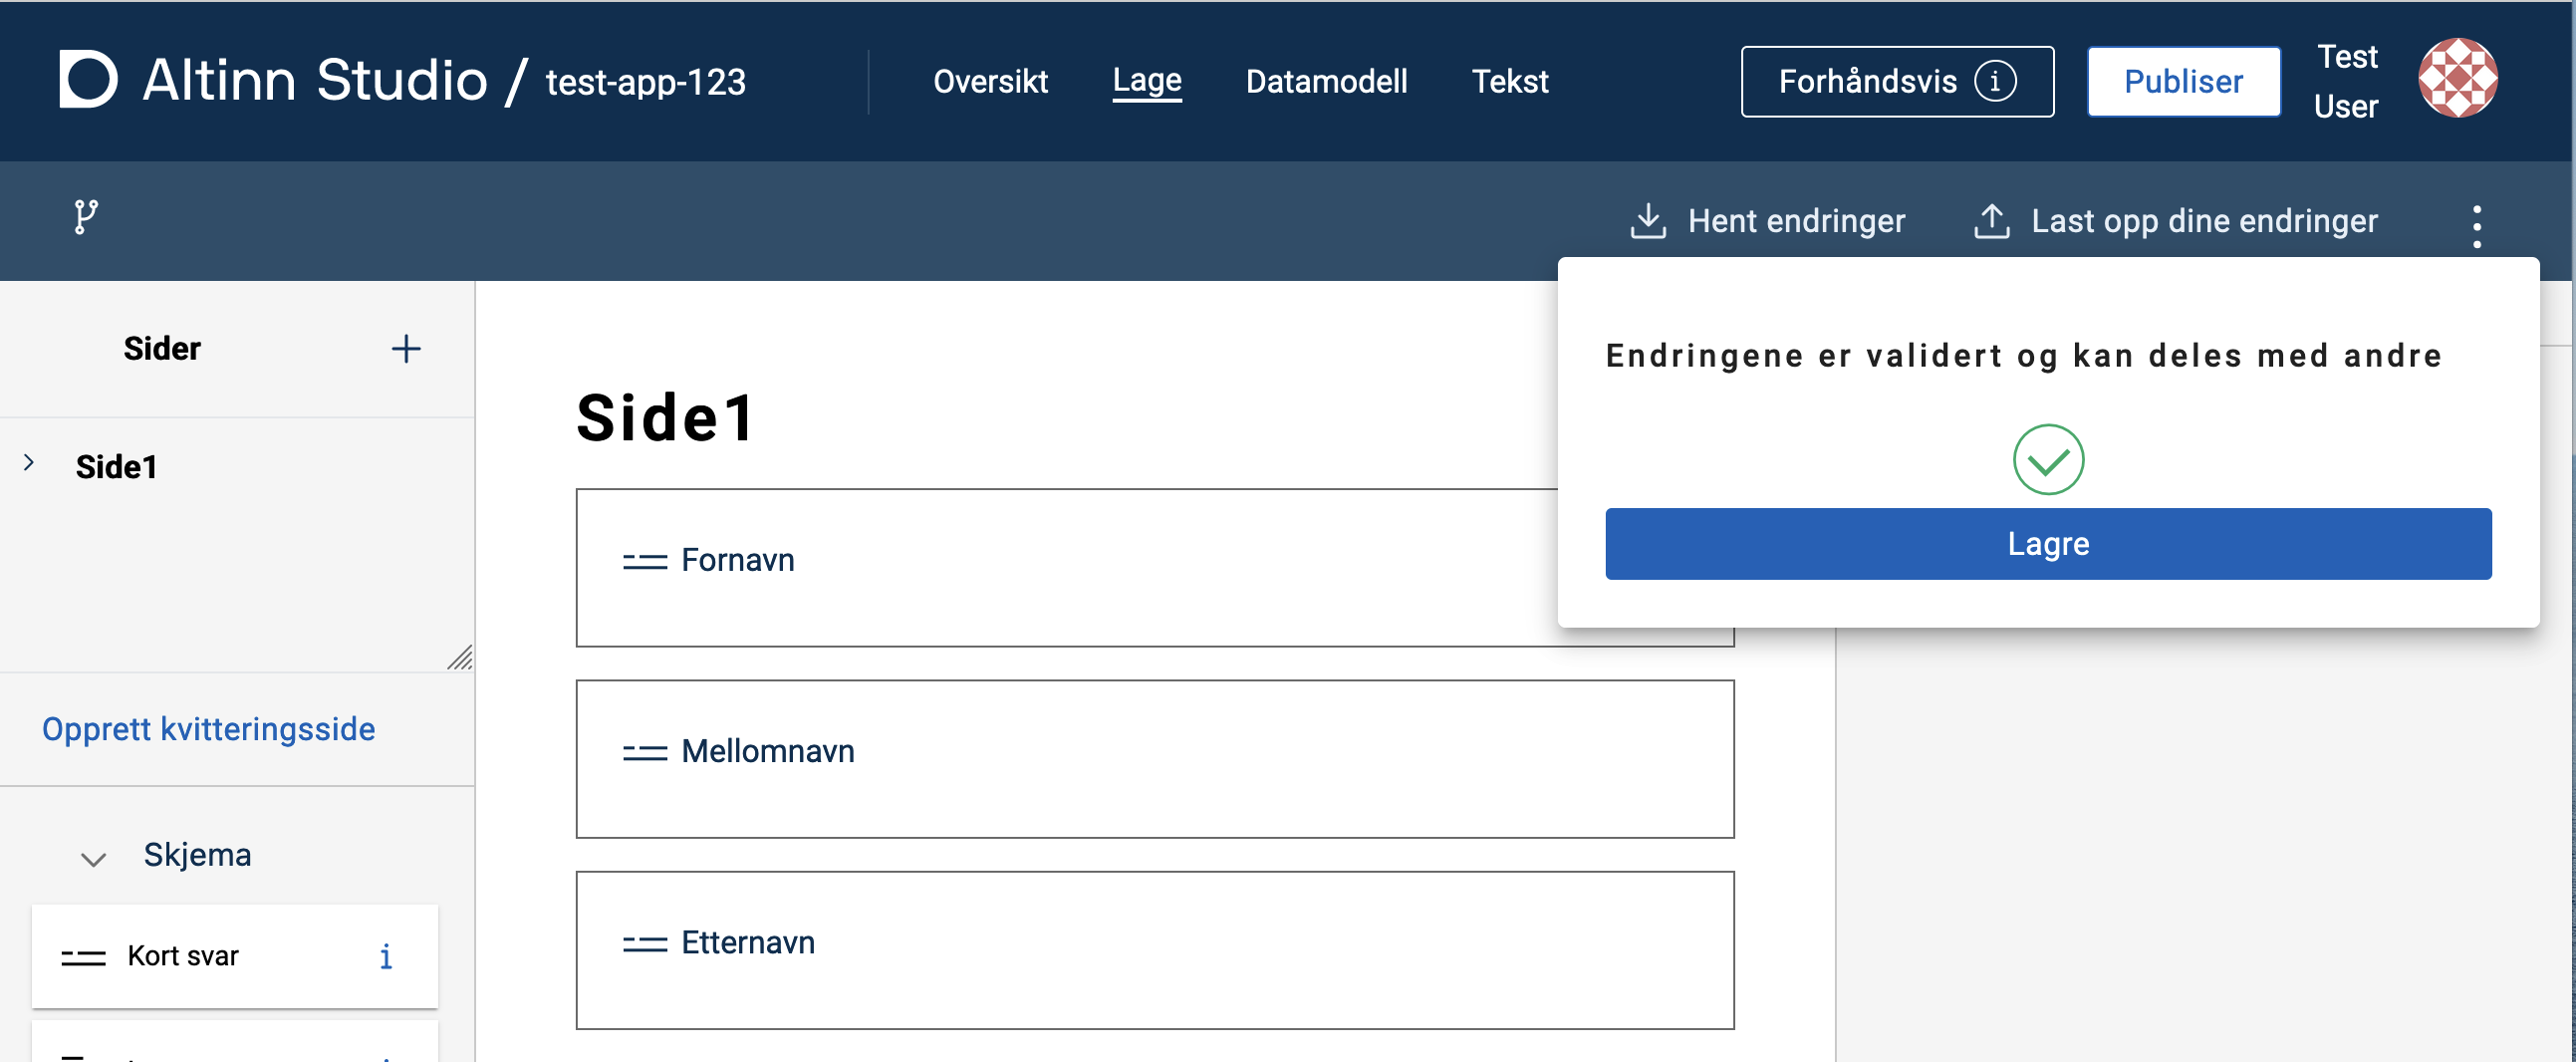
- Wait for the changes to be validated. If a conflict occurs, click Løs konflikt (Resolve conflict) and follow the instructions.
- Click lagre (Save) to upload the changes to the repository (master).
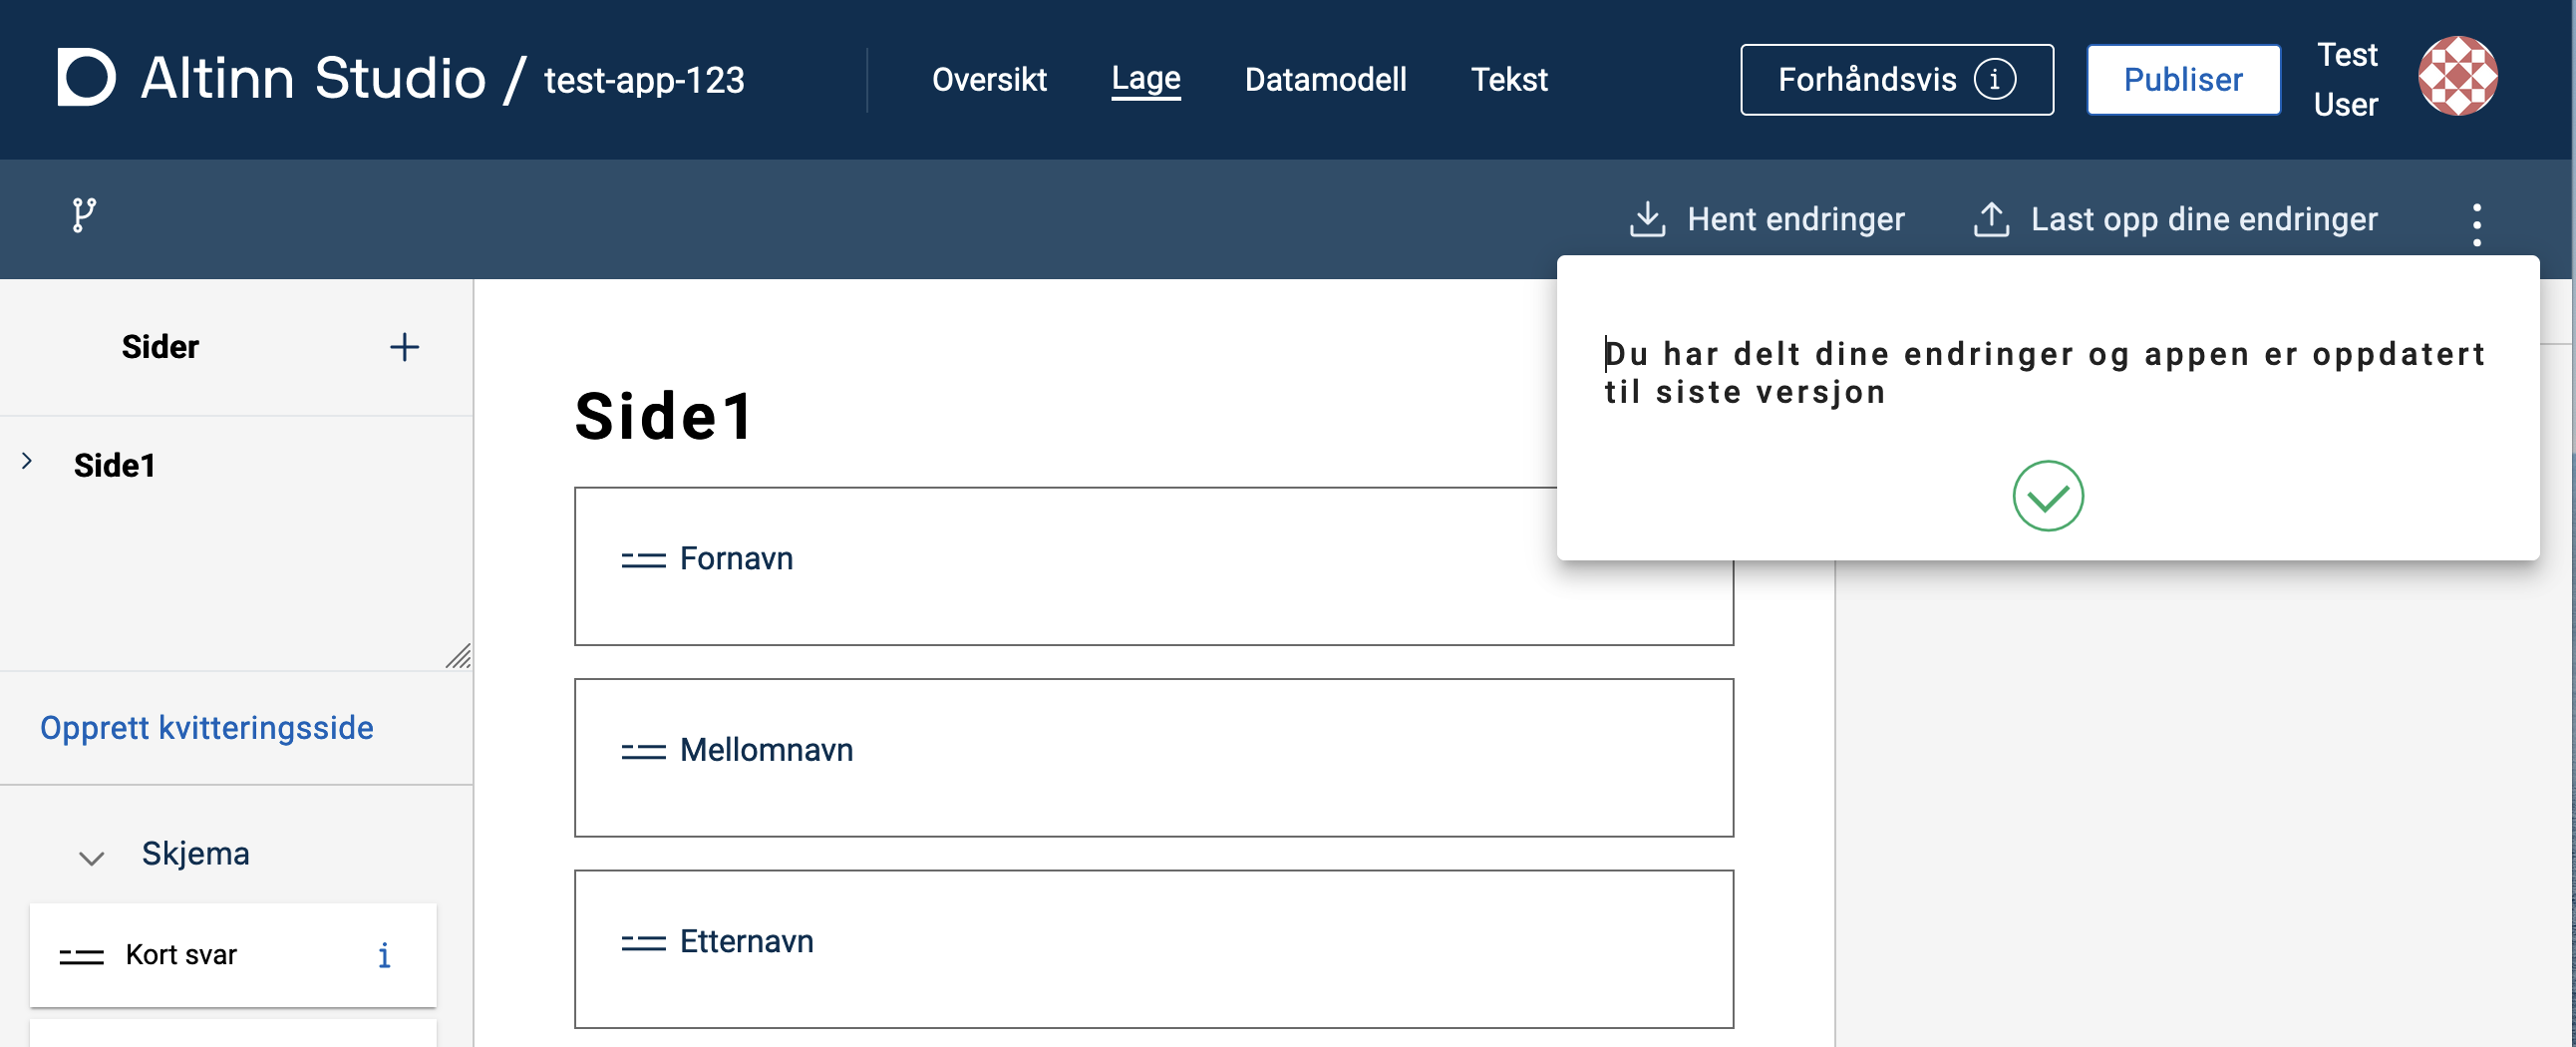
- If everything went well, you will see this confirmation.
Local testing
You can preview the changes you make when working locally.
studioctl starts the local test platform, runs the app and connects the app to local.altinn.cloud on port 8000.
You need a container runtime, such as Docker, Podman or Colima, and the .NET SDK to run the app as a local process.
Run studioctl doctor to check that your machine has the required tools.
app-localtest stack, stop and remove it completely before running studioctl env up. Use the command that matches your container runtime, such as docker compose down -v or the Podman equivalent.- Start the local test platform: Go to the app repository in a terminal and run
studioctl env up.- If you encounter the error message
env up: start environment: resource exists but is not managed by this graph: container:localtest-<name>, you have leftover containers from a previous setup that studioctl doesn’t own. Remove the stalelocaltestcontainers and re-runstudioctl env up. - If
env upthen fails on anetwork:resource, list it withdocker network ls --filter name=localtest(orpodman network ls ...) and remove it withdocker network rm <name>.
- If you encounter the error message
- Run your application within LocalTest: Run
studioctl runfrom the app repository. The command detects the app directory and starts the app with the correct local settings. - Preview and test the application: Go to http://local.altinn.cloud:8000 and log in with a test user.
You can also open the browser when the test platform starts:
studioctl env up --open
studioctl run
Useful commands:
| Command | Description |
|---|---|
studioctl env up --open | Starts the local test platform and opens local.altinn.cloud on port 8000. |
studioctl env status | Shows local test platform status. |
studioctl env logs | Shows logs from the LocalTest containers. |
studioctl run --detach | Runs the app in the background. |
studioctl app logs | Shows logs from an app running in the background. Use --follow for live logs. |
studioctl stop | Stops apps started with studioctl run --detach. |
studioctl env down | Stops the local test platform. |
studioctl doctor | Diagnoses missing tools and local environment issues. |
Preview changes in real-time
- For changes related to JSON files, simply reload the page.
- For changes in prefilling, the application must be instantiated again (go to http://local.altinn.cloud:8000 and log back in).
- For changes in C# files, the application must be stopped (
ctrl+C) and restarted (studioctl run).
To automatically update when there are changes in C# files, start the application with dotnet watch. This command will either start the application or reload it (hot reload) when changes are made to the source code.
Stop the application and LocalTest
Stop the application by pressing ctrl+C in the terminal window where you started it.
Stop LocalTest with studioctl env down.